November 19, 2018

Another Quilt Post! (It’s Long!)

I know, you’re sick of me posting about my quilt collection, but this time, I decided to do something about it. In this post from July, I had some images of quilted coats. I started mulling the idea of making a coat from one of the quilts with condition issues, like stains or wear. image

I thought about it some more. The coat needed to be very simple. It needed to be simple because I’ve never made a coat, or even anything with sleeves before. I’d also never really made anything using a printed pattern. The coat needed to be a loosely-fitted, boxy design because of the quilt’s bulk. And I pretty much knew that there was no way in this world that I could construct and attach a collar. I finally found and  bought a pattern for the potential coat. image

There was actually a belt with the pattern, but I thought that would move the coat into more of a bathrobe territory.

I pondered some more. How could I make this work? I didn’t really want to have to have to sew hems around the whole coat, because again, the bulk. All of a sudden, the solution came to me. Why not use the borders of the quilt for the edges of the coat! I could use the corners for the two front panels, and then the other borders for the arms and the back.

Once I figured that out, things pretty much fell into place. I had gotten a quilt a little while ago at a different auction from my usual one, and they had a full photo of it online. I screen-grabbed it and put it in Photoshop. As you can see, there’s a pattern of sorts. I wanted to figure out how to take advantage of the larger red squares, because there were only two of them. image

Then I scanned in the pattern pieces and started moving them around until I found the layout which would take advantage of the borders and the red blocks. This was an early iteration of the lay-out.quilted coat

I wanted to try and match the fronts, but alternating the brown and red, and the sleeves with the white at the top. It took some playing to get this done, with the quilt laying out on my bed, Figue trying to be part of it all and me pinning the tissue paper pattern to the quilt. I actually marked the patterns out on the right side of the quilt (in a Sharpie marker, no less!), because I wanted to be certain of where the pieces were going to be. Even after I printed out this lay-out, I changed it again.image

The hardest part was actually putting scissors to fabric, but once I did, I just kept cutting. I have a dress-maker’s dummy, so I started pinning the coat on that and could finally see it taking shape… literally. image

As I mentioned, I’ve never made a garment with sleeves, so I had NO idea of how this would work. As you can see by the middle image, I initially put the sleeves in backwards, and then realized i needed to turn the sleeves inside-out. I also put seam-binding around the neck-line, since it was the only place where the raw edges showed. Once I figured all of that out, it was smooth sailing sewing. All in all, it took about five hours to make the coat, not including the contemplating and pondering.

I  like how the pattern mostly matches up, and how you can see the amazing stitch-work on the plain panel on the back of the jacket. I think that the bright graphic pattern on this quilt steers it away from the bathrobe territory. I did adjust the sleeves a little, but they were still too long, so I’ve just folded them back.

Front 1backFront 2

To say that I am THRILLED about how the coat (or quoat, as a friend termed it) turned out would be an understatement. I started this morning picking up coffee and having a woman stop me to tell me how much she loved my coat. I had to tell her I had made it all by my self!

So, that brings up my next quandry. I thought I would have sold a lot of the quilts at my Pop-Up Shop in September, but I only sold one! I was pretty surprised by that. I am now thinking of making some of these quilt coats for sale. I won’t cut up the perfect quilts, but some of the ones that are 90% perfect, since I now know how much fabric I need. I would make them in S, M, L and XL, not by actual sizes. I am thinking that you could pick which quilt you wanted, and what size you need, and the coat would be made to order. Thoughts?

November 16, 2018

Instagram: The Days are Whizzing By!

I talked about the Pop-Up shop a few weeks ago, and it was a huge success. I really had a great time doing it, and hope to do another one next year. I’ve been busy doing a lecture, teaching a class and a few other things. But I did want to keep you posted on things that are happening here.

One of the old country churches north of the city, decorates their stone wall with pumpkins that the children have carved. image

This is an old city church that I had a chance to visit unexpectedly.image

I am so lucky to have great friends who are painters. image

This is my friend’s kitchen! It can be yours if you buy his house.image

Sometimes, your fortune cookies are spot-on!image

Figue was a bee for Halloween!image

I have a ton of quilts, so decided to try and make a coat out of one of them. This is the mock-up one.image

There’s nothing like a drive in the country to clear your head!image

That’s all for now!

October 23, 2018

A Very Happy Birthday

I celebrated a milestone birthday over the weekend and it was simply amazing. A group of friends banded together to host the event, which was held in a recently re-built barn. imageimageThe evening’s theme was Tweeds & Tartans, Tophats & Tiaras! The evening started with a ride down to the barn in a bunting-festooned Gator, with two bag-pipers leading the way. image

The guests were great sports and many dressed as specified for the party!image

And I was awarded numerous titles, including Lady Baltimore, Viscountess of the Discountess, Baroness of the Blog, Archduchess of Architecture, Princess of Pigtown and most wonderful of all, Queen of Hearts! image

image

My friend Andrea made the medals, which were truly spectacular! I am planning on framing all of them in shadow boxes.image

We were so pleased that HRH Queen Elizabeth II could join us for the party, and she was such a good sport about interacting with the guests.image

Andrea was also responsible for the flowers at the party, which were just incredible. image

Each one of the planning group was responsible for an aspect of the party.image Stiles & Jonathan provided the venue and the menu, David & Chad provided the libations, Andrea did the flowers and decorations, Tracey found the entertainment, which included the pipers and the [Drag!] Queen,image and Cat made the desserts, the most amazing pear-spice cakes for everyone!imageimage

It was such an amazing evening, filled with hilarious toasts from the hosts, loads of great friends, all of my siblings and their spouses, lots of fun and interesting conversations, and love all around. To my besties who planned the party… It’s a night I will never forget! Love you all to the moon and back! xoxoxoxo

October 16, 2018

Popped the Pop-Up!

Well, the Pigtown Anglo-American Pop-Up was a huge success! Actually, so successful that I kept it open for an extra two weeks at the request of the shopping village where I had opened. image

We had planned to open with a little sip & shop party, but I ended up not getting into the space until the day before I had planned to open, so that plan was scrapped. And working all day to set up the shop didn’t really put me in the mood to party. Plus, we had a huge storm that evening and got 2.5” of rain! Just what we needed (haha!).

My friend, Stiles, helped me finesse the shop’s final look and made it really look spectacular. He knew exactly how to arrange the display shelves and tables perfectly, and brought along risers and stands, as well as ladders from his shop, Halcyon House Antiques. image

I was fascinated to see that almost all the really HUGE pieces sold first. Platters, trays, tureens, candlesticks, bowls and pitchers, all went in the first two weekends. In fact, I had sold so much, that I had to plunder my house to get more items to fill the shelves. image

The shop was located in a 50-year old mixed-use development, and one of the things I loved about it was that it was full of light, no matter how dreary the day was. image

As always, my favourite pieces are the glass domes! Most of them sold, but in the meantime, I had fun filling them with both items from the shop and seasonal Baby Boo pumpkins.image

image

And who doesn’t love transferware! I had it in a range of colours, including the rare mulberry! image

All in all, it was a fun experience. At times, I felt like it was a revolving cocktail party with all of the friends coming and going. Thanks to everyone who stopped by to buy or just to say hello!

October 12, 2018

Festival of Fabrics

Earlier this week, John Rosselli at the D&D Building in NYC hosted a Festival of Fabrics.imageI really wanted to go, but my work and pop-up schedule didn’t allow me enough time to go to NYC for the day. I am such a fabric addict, and there were so many clever ideas at the Festival, that I wanted to share them with you.

The staff at Rosselli created a festival-like atmosphere, complete with tented fabrics, balloons and popcorn.image

I love these pinwheels from Right Meets Left Designimage

How can you not love these little sailboats by Le Gracieux Creativeimage

And the bow of a sailboat peeking out from behind some flowers.image

And another view!image

How about this Venetian tabletop by Jenny Wolf Interiors!image

And another view.image

Here is the detail on the Sister Parrish cloth. image

John Robshaw umbrellas hanging from the ceiling.image

Detail of an umbrellaimage

All in all, it looked like such a fun event, that I am already making plans to go next year!

September 4, 2018

POP UP!

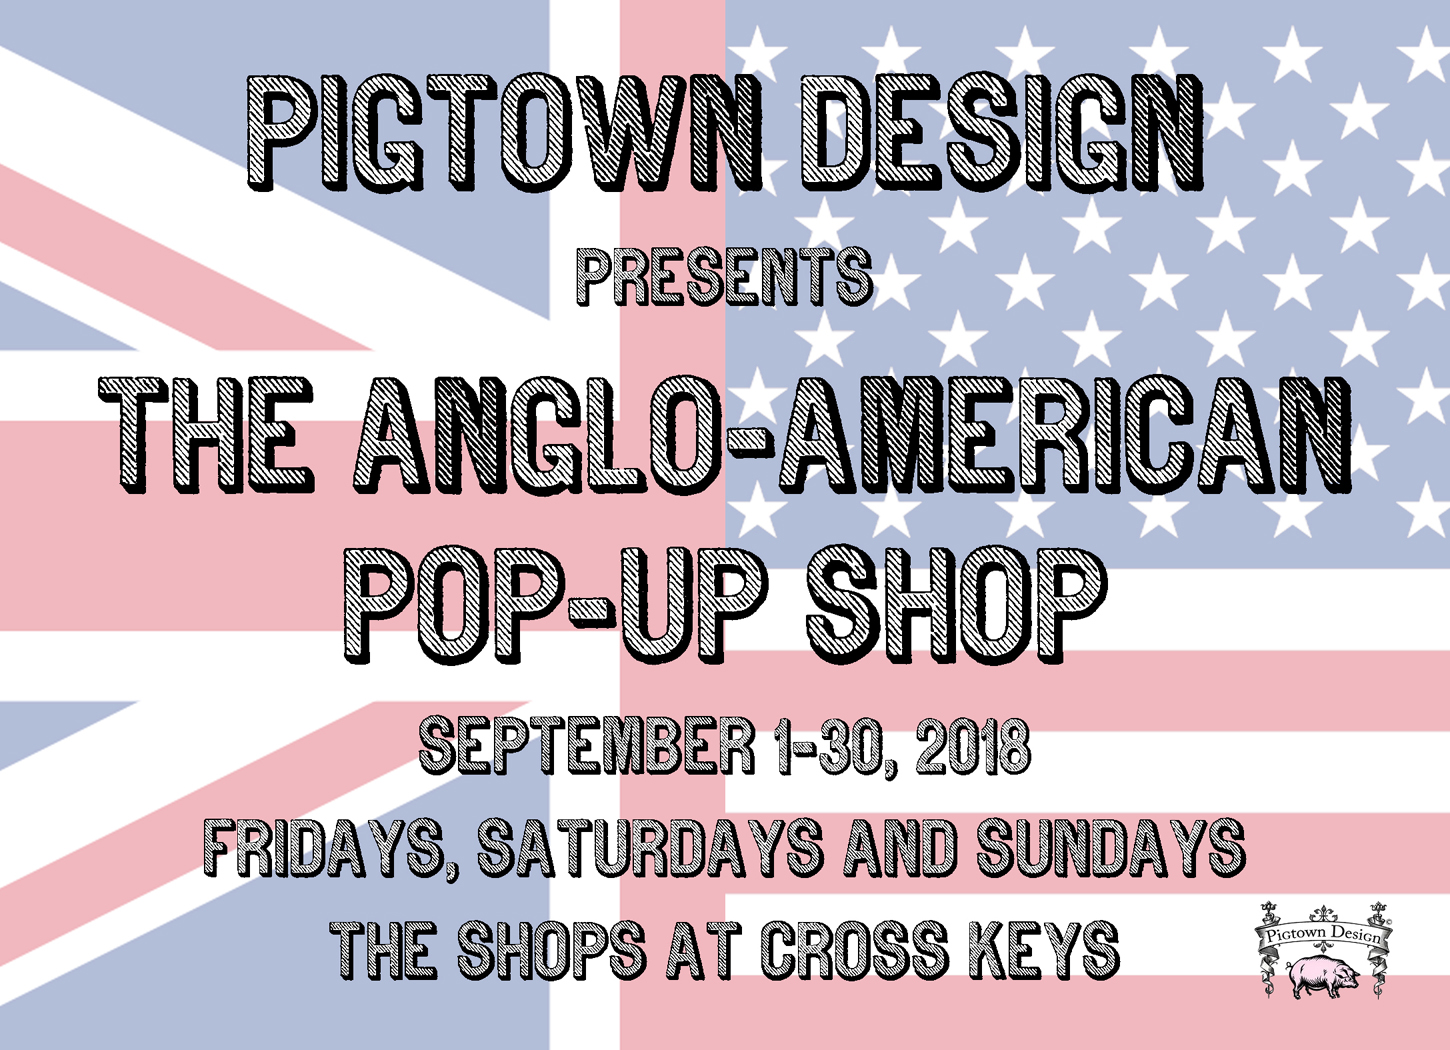
Whew! Last week was a bit of a nightmare. I thought I was going to get the keys to the Pop-UP on Monday and could start leisurely loading in my wares every evening, since the Village only allows this during “non-working” hours. But after some delays, I didn’t actually get the keys until mid-afternoon on THURSDAY! This basically left Thursday evening and Friday morning to move everything in, set up the shop and be ready to open on Saturday morning. posterThe Friday evening drinks party was scrapped!

My talented friend, Stiles came over to help me zhoosh things up after I’d done the initial unloading and display. And boy did he work miracles! Luckily for me, there was a wall of shelves in the shop, along with several movable counters and I brought in some six-foot tables.image

Stiles had the brilliant idea of moving the fixtures to either side of the door and then running two of the tables length-wide down the center. We displayed the silver and china on the shelving and the silverware on the tables.image I hung two of the quilts on the wall and plan to change them out every week. image

Luckily, the shop is filled with light, so it all looks crisp and cool. image

I was actually surprised at what I sold on the first two days – all of my huge pitchers, bowls, tureens, and platters! imageimageLuckily, I have enough to replenish and worked on Labour Day to add more pieces. image

Thanks to everyone who came to see me and buy some goodies!

PS – A few people asked for directions. Cross Keys is a gated mixed-use development with offices, shops and housing. It’s a but confusing, and not well marked once you enter the property. So here’s a handy little map for you to use. You can enter through the gate-house or the bus & truck entrance and park on either the north or south side of the shops. There’s a beautiful court-yard that you have to walk through to find me. map of xkeys

I will be open Fridays, Saturdays and Sundays through September!